Launching a YouTube channel can feel challenging, especially if you don’t have the right set of audio visual equipment that fits your needs. However, with plenty of options available, you don’t need an exclusive elaborate setup to produce high-quality content. Let’s walk through the list of audio and visual equipment you may require as you start your YouTube journey.
Camera- Most essential equipment
First and foremost, you need a good-quality camera to shoot captivating videos for your YouTube channel. You don’t necessarily have to purchase a high-end camera right in the beginning. Many budget-friendly cameras are available that capture great videos without creating a hole in your pocket.
Based on your journey, here is a list of different camera types you can include in your audio-visual equipment list.
Simple yet effective Smartphone camera
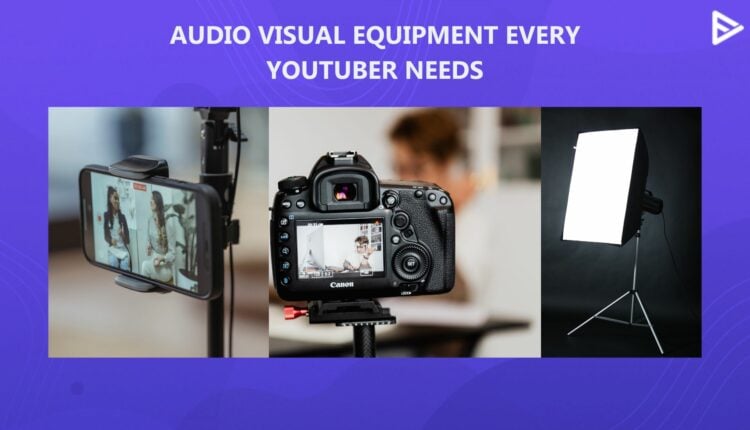
If you are a creator who has recently launched his YouTube channel and looking to show your perspective with interesting videos, you can start with a smartphone camera. They offer high-quality visuals with features like 4k video recording and image stabilization. However, smartphone cameras might have some limitations, like shooting effectively in a low-light environment. If you are an advanced creator looking to scale your channel with better quality videos, you can opt out of smartphone cameras since they are ideal for a creator with a tight budget.
Webcam- Alternative to Smartphone Cameras
If you plan to create tutorial videos or capture your intense gaming moments while sitting at a desk, a webcam is a reliable option. This audio visual equipment is inexpensive and easily set up on your desktop or laptop. They capture videos at higher frame rates even in low light, thus showing your viewers all the relevant details they need. However, their limitation is that they are rigid and cannot be moved often.
DSLR- Audio Visual Equipment to Scale Production Quality
If you are a creator whose channel has engaging videos, a decent subscriber base, and ready to scale your video production quality, a DSLR camera must be your go-to choice. These high-quality cameras capture professionally looking videos bound to captivate your audience’s attention. However, they have higher price points than other options but are worth the investment if you are thinking of pursuing YouTube as a full-time career.
Action Camera- Ideal for Durability
Action cameras are the perfect fit for creators in travel or sports niches who capture fast-paced, outdoor activities. These audio-visual equipment are compact in size and known for their durability. They have similar price points as DSLR cameras and can withstand extreme weather and rough terrain conditions.
Camera Stabilizer- Do you need one?
A camera stabilizer ensures you capture your video footage smoothly without any distractions or shaky movements. It is highly helpful for every YouTube content creator, regardless of where they are in their YouTube journey. A few camera stabilizers that you must have in your audio visual equipment set while you are starting out are highlighted below.
Basic Tripod Stand
A basic tripod stand helps you capture stationary video footage for the tutorial, how-to, and gaming videos. It is very budget-friendly, easy to assemble, and highly compatible with YouTube camera options. However, they have limited flexibility and can be used indoors or on smooth studio environment.
Tabletop Tripod
This audio visual equipment is an alternative to the above basic tripod stand, ideal if you shoot videos in smaller spaces. A tabletop tripod is highly recommended if you shoot close-up videos. It is known to remain stable without a stand and has a clamp to secure your phone safely.
Gimbal
Gimbal is an ideal choice for creators who want to produce professionally appealing video content. They keep the camera stable even when moving, thus making them the perfect fit to shoot Vlogs, action-based footage, and intense outdoor filming. However, they are more expensive than tripods and not suitable for a beginner-level creator. Even if you are an advanced YouTuber, there is some learning curve involved when using a Gimbal. So, go for his option only if you are willing to invest time, energy, and money.
Microphone- Another must-have Audio Visual Equipment
As a YouTube creator, you must have a microphone that offers unmatched audio quality to create engaging videos. Explore the three microphone options highlighted below that must be a part of your audio-visual equipment arsenal.
USB Microphone
This is the most basic version of a microphone and can be readily plugged into your desktop system. It is ideal for recording podcasts, voiceovers, music videos, and live streams. You can opt for a USB microphone only if you shoot most of your videos from a stationary point, like your desk or permanent studio.
Shotgun Microphone
This audio visual equipment captures sound from a specific direction based on its position. A shotgun microphone is ideal for Vloggers and YouTubers engaged in outdoor filming activities. Additionally, it is also suitable for creators to record interview videos where they need a sharp focus on the subject’s voice while reducing the background noise. For best results, you may require additional stand equipment.
Lavalier Microphone- Budget-friendly Audio Equipment
If you are looking for something portable and an on-the-go option, you can opt for a Lavalier microphone. They are small and can be clipped to your clothes, thus giving you freedom to move while shooting YouTube video content. Moreover, it can connect to your smartphone and provide crystal-clear audio. They work best in controlled environments where the background isn’t too loud.
Lighting Equipment- Essential for Video Recording
An ideal lighting setup is essential to add the magic pill to your videos that makes them engaging and descriptive. Inadequate or harsh lighting setup can make your videos lose that charm and miss out on capturing potential viewers in the long term. Based on your content category, you can choose from the following lighting options to create your setup.
Umbrella Light
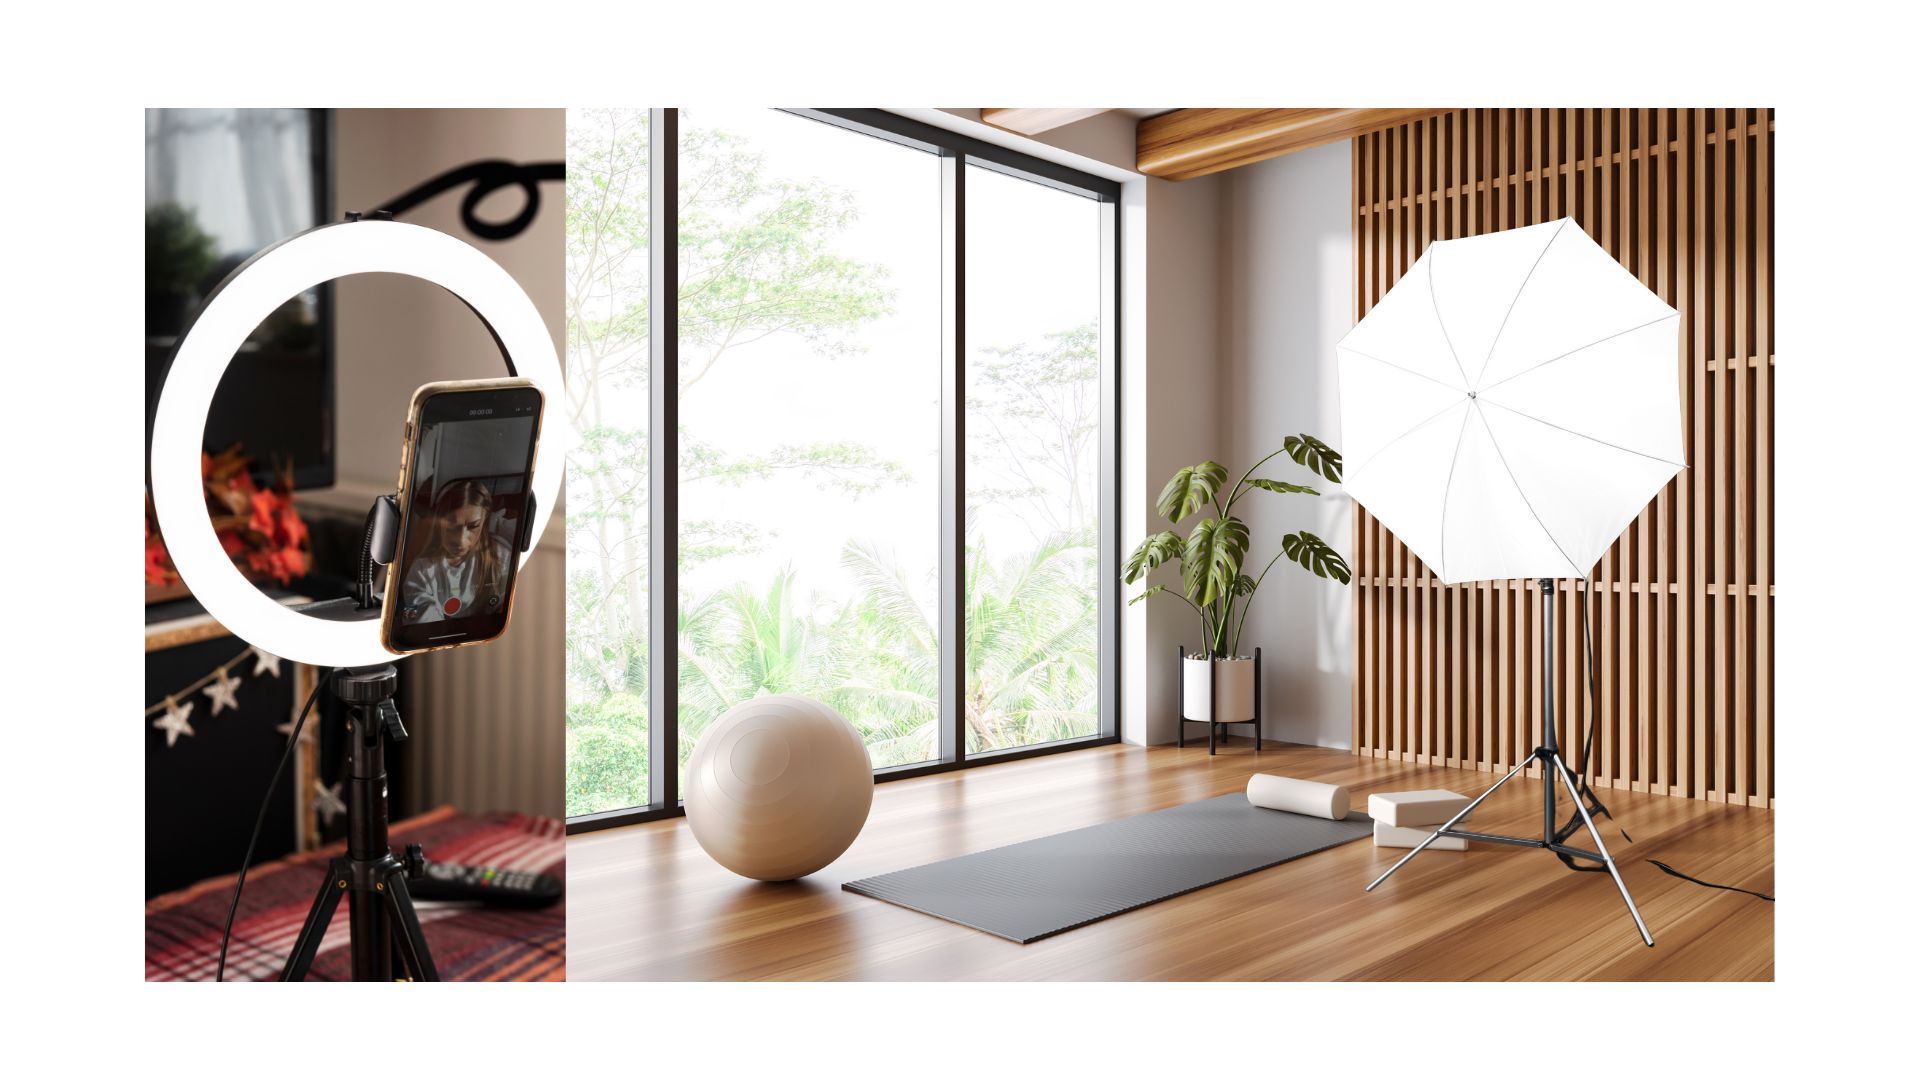
This lighting option is highly portable, pocket-friendly, and easy to set up. However, its umbrella-like design requires multiple adjustments to achieve the ideal lighting angle. If you are a beginner-level creator who shoots videos in multiple low-light environments, an umbrella light is the ideal setup.
Softbox Lighting
A softbox light is an excellent audio visual lighting equipment best suitable for review, tutorial, and other videos that don’t require much movement. They provide charming visuals with their natural, soft lighting tones. They also offer adjustable brightness and might require a lot of accessories, thus taking up more space and requiring a dedicated filming area. However, they are worth the investment if you produce professional video content.
Ring Light
A ring light is helpful if you want to focus on your face without overly brightening the scene. It is common for YouTubers, regardless of their journey and niche, to have a ring light as it is compact and quick to set up. However, the only limitation of this type of audio visual equipment is that it can cast unwanted shadows. When placed properly, they are ideal for capturing Vlogs, makeup tutorials, and other videos where you speak directly in front of the camera.
On Camera Light
For creators who don’t have a dedicated studio space and require filming videos on the go at multiple locations, an on-camera light is a great solution. These small-sized lights attach directly to your camera or smartphone and fit in regular backpacks. Although its light may not be as powerful as the other lighting setup, it is sufficient enough to get you started with recording your YouTube video.
Natural Light
The best source of light to shoot engaging YouTube videos. If you shoot your video content during the daytime, look for the golden hour and plan your shooting schedule accordingly. It is free and provides beautiful, diffused light effects in your video content. However, the natural sunlight is unpredictable and can cause harsh shadows, making it difficult to fill for long periods.
Most Important- Quiet Environment with Clean Background

A dedicated filming space is essential to ensure your audio and video elements are free from distractions. Besides having a noise-free setting, you must also have an uncluttered background. It keeps your viewer focused on what you are saying and the important parts of your content. Research shows that having a minimalistic setup keeps your viewers’ attention hooked to the subject and increases the chances of your audience watching your video till the end. For instance, if you shoot how-to and tutorial videos, filming them in a quiet room with soundproof techniques significantly enhances your videos’ audio quality.
Video Editing Tools
Unlike others, it is not physical audio visual equipment but virtual online tools that form a necessary part of your YouTube journey. You can capture eye-catching, impressive footage through the audio and visual equipment stated above. However, to merge them beautifully, you need the best video editing tools, like Adobe Premier, that add a professional touch to your YouTube videos. Moreover, with practice, you will be well-versed in the fine details of how to edit a YouTube video for the highest engagement.
Besides, you can also leverage an AI YouTube title generator and an AI YouTube description generator to create intriguing titles and SEO-friendly descriptions for your videos.
Conclusion
This was the complete guide that you need to know about the audio visual equipment to make your YouTube videos more professional. Before you look to buy the equipment needed for YouTube channel, I recommend going through this guide in detail and analyzing what you’d require the most based on where you are in your YouTube journey. Having all the necessary equipment beforehand ensures your journey is smooth and helps you focus on your content strategy.
Frequently Asked Questions
Q1. How much space do I need to setup a home studio to create YouTube videos?
You don’t need a lot of space to create your own setup of YouTube Studio. A corner of a room also works fine. However, regardless of your space, remember to keep it clutter-free and well-lit.
Q2. How can I learn to use audio visual equipment effectively?
First, you need to know the list of audio and visual equipment needed to create your YouTube videos. Once you know what best fits your channel, you can look for online courses, blogs, and videos to learn its effective use.
Q3. Should I use a tripod while recording YouTube videos?
Although not compulsorily required, a tripod in your audio visual equipment arsenal will help you capture YT videos without shaky movements, ensuring consistent framing.
Q4. What video editing software do YouTubers use?
Commonly, YouTubers use Final Cut Pro, iMovie, and Premiere Pro to edit YT videos. However, the choice of video editing software also depends on your videos’ style, content category, and niche. For example, a vlogging video may not need as sharp edits as required in an intense gaming video. However, the visual editing for a Vlog video will be more intense than the visual editing for a gaming video.


