
Key Takeaways
- Use the “Upload Defaults” and save as much as 10 minutes per video by pre-setting video descriptions, tags, and monetization status.
- Do “Test & Compare” and discover what thumbnails and titles result in the highest video watch times.
- Easily manage comment sections with AI-powered keyword filtering and mass selection.
- Take advantage of “Video Groups” in the Advance settings YouTube Mode and discover what content is popular during certain times of the year, as well as what content is really driving subscriptions.
- Auto-Translate subtitles and descriptions with the click of a button, without ever needing a human translator.
What are YouTube Studio Advanced Settings?
For Advance settings YouTube go to Settings > Channel > Advanced is a set of specific configuration parameters to manage channel-level information. The key settings include audience targeting (“Made for Kids”), Google Ads account linking, channel insights sharing, automatic captions, and community moderation.
Key Advanced Channel Settings
- Audience: Set “Made for Kids” to define if the channel targets kids or not.
- Channel Insights Sharing: Enable the sharing of audience stats and performance data with advertisers to attract business.
- Google Ads Account Linking: Link the Google Ads account to display ads on the channel.
- Automatic Captions: Set to block inappropriate words.
- Subscriber Count: Set to show/hide the subscriber count.
- Advertiser Interest: Set to enable/disable sharing analytics with third-party advertisers.
Additional Advanced Features
- Feature Eligibility: Enable access to intermediate features such as video upload over 15 minutes, custom thumbnails, and live streaming by verifying the channel’s identity.
- Content Management: Set content-related settings in the community hub to filter comments and blocked words.
How to Access Advanced Settings in YouTube Studio
- Sign in to the YouTube Studio.
- Select “Settings” in the left navigation panel.
- Select “Channel.”
- Select the “Advanced Settings” tab.
How to Use YouTube Studio Advanced Settings?
While most content creators use YouTube Studio as a basic tool for tracking views, if you want to grow your channel in 2026, it is essential to explore advance settings YouTube Studio. These are tools that are often overlooked, but they are essentially features created by YouTube for content creators, aiming to help grow their channel. Here are a few of the advanced YouTube Studio features:
1. Save Time with Upload Defaults
The most boring thing about being a content creator is retyping the same social media links and disclaimers for each video. However, with the help of advanced YouTube Studio features, you can save a lot of time by avoiding repetitive tasks.
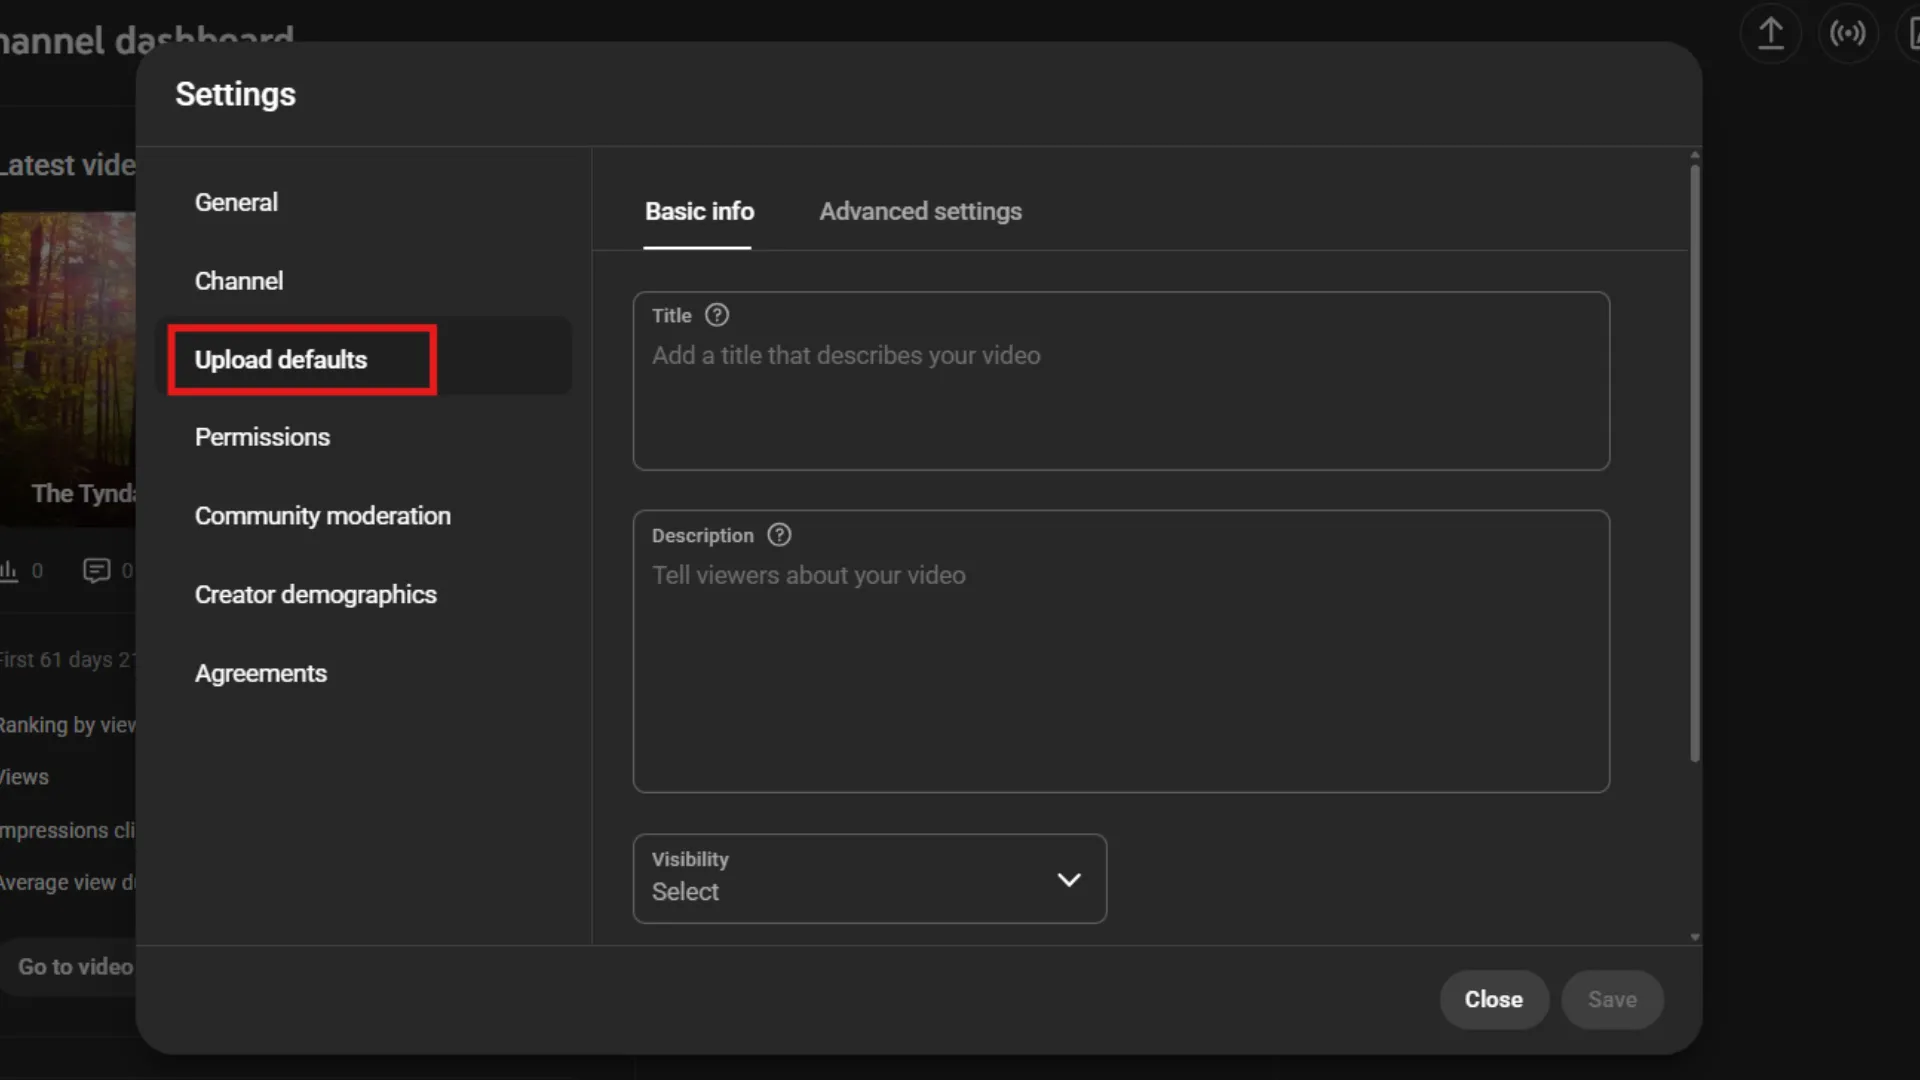
To save time, go to Settings > Upload Defaults. This is where you can create a permanent default for each video. Here, you can save:
- Standard Tags: Keep your basic brand keywords the same.
- Descriptions: Add your “About the Channel” description and social media links.
- Visibility: Keep each video “Unlisted” by default, ensuring you’re ready for SEO before publishing.
- Monetization: Select your preferred ad style once instead of for each video.
While it may take five minutes of your day, it can save you dozens of hours in the coming year.
2. Take Control with Comment Moderation
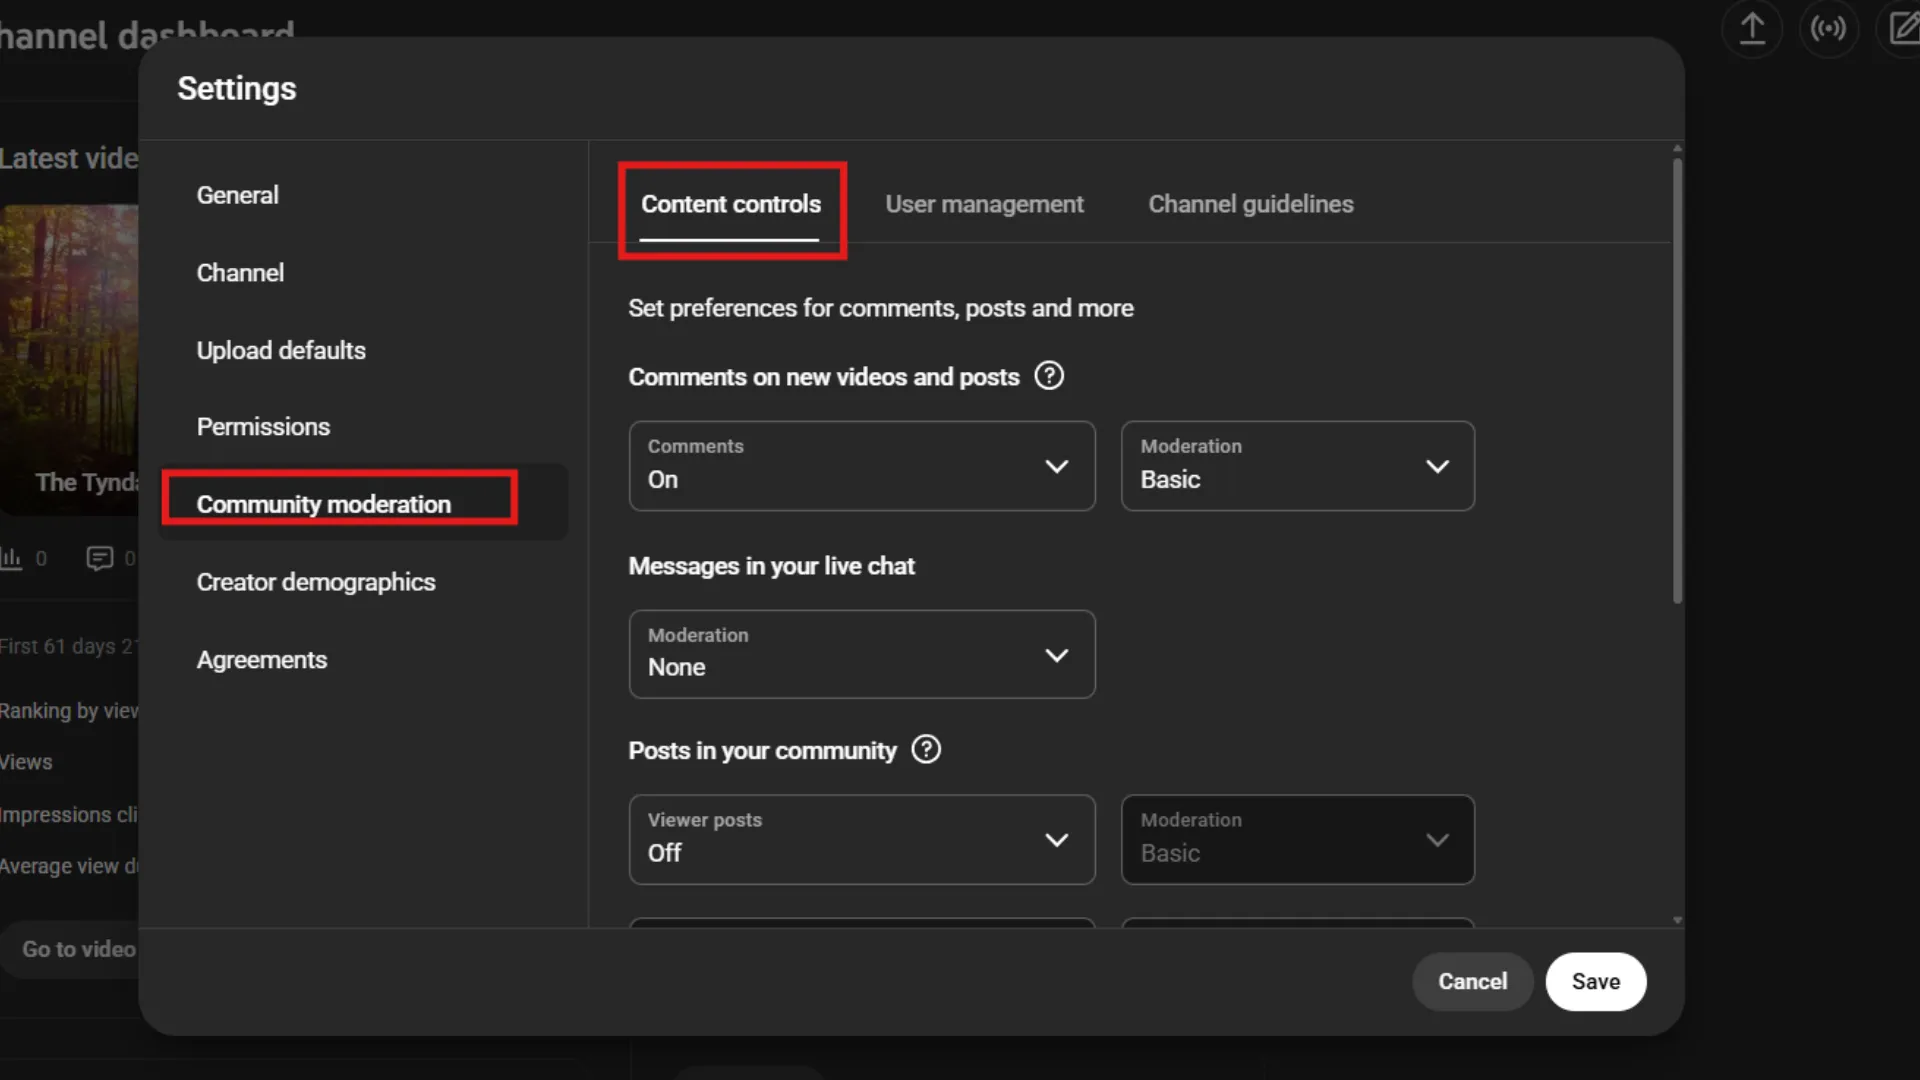
The lifeblood of the algorithm is engagement. Spam is the death knell for the vibe of your community. Many YouTubers are seeking answers to the question “where are the advanced settings YouTube Studio” for controlling their communities. The answer is in the Settings > Community area.
The improved comment moderation system by YouTube allows you to:
- Block Links: Stop your community members from spamming your comment sections with self-promotional links.
- Keyword Filters: Create a Blocked Words list and make sure no comment with your favorite slur or spam phrase ever sees the light of day.
- Bulk Selection: If your video goes viral for the worst possible reasons, use the bulk selection feature to remove or allow hundreds of comments in an instant.
3. Discover Strategic Insights with Video Groups
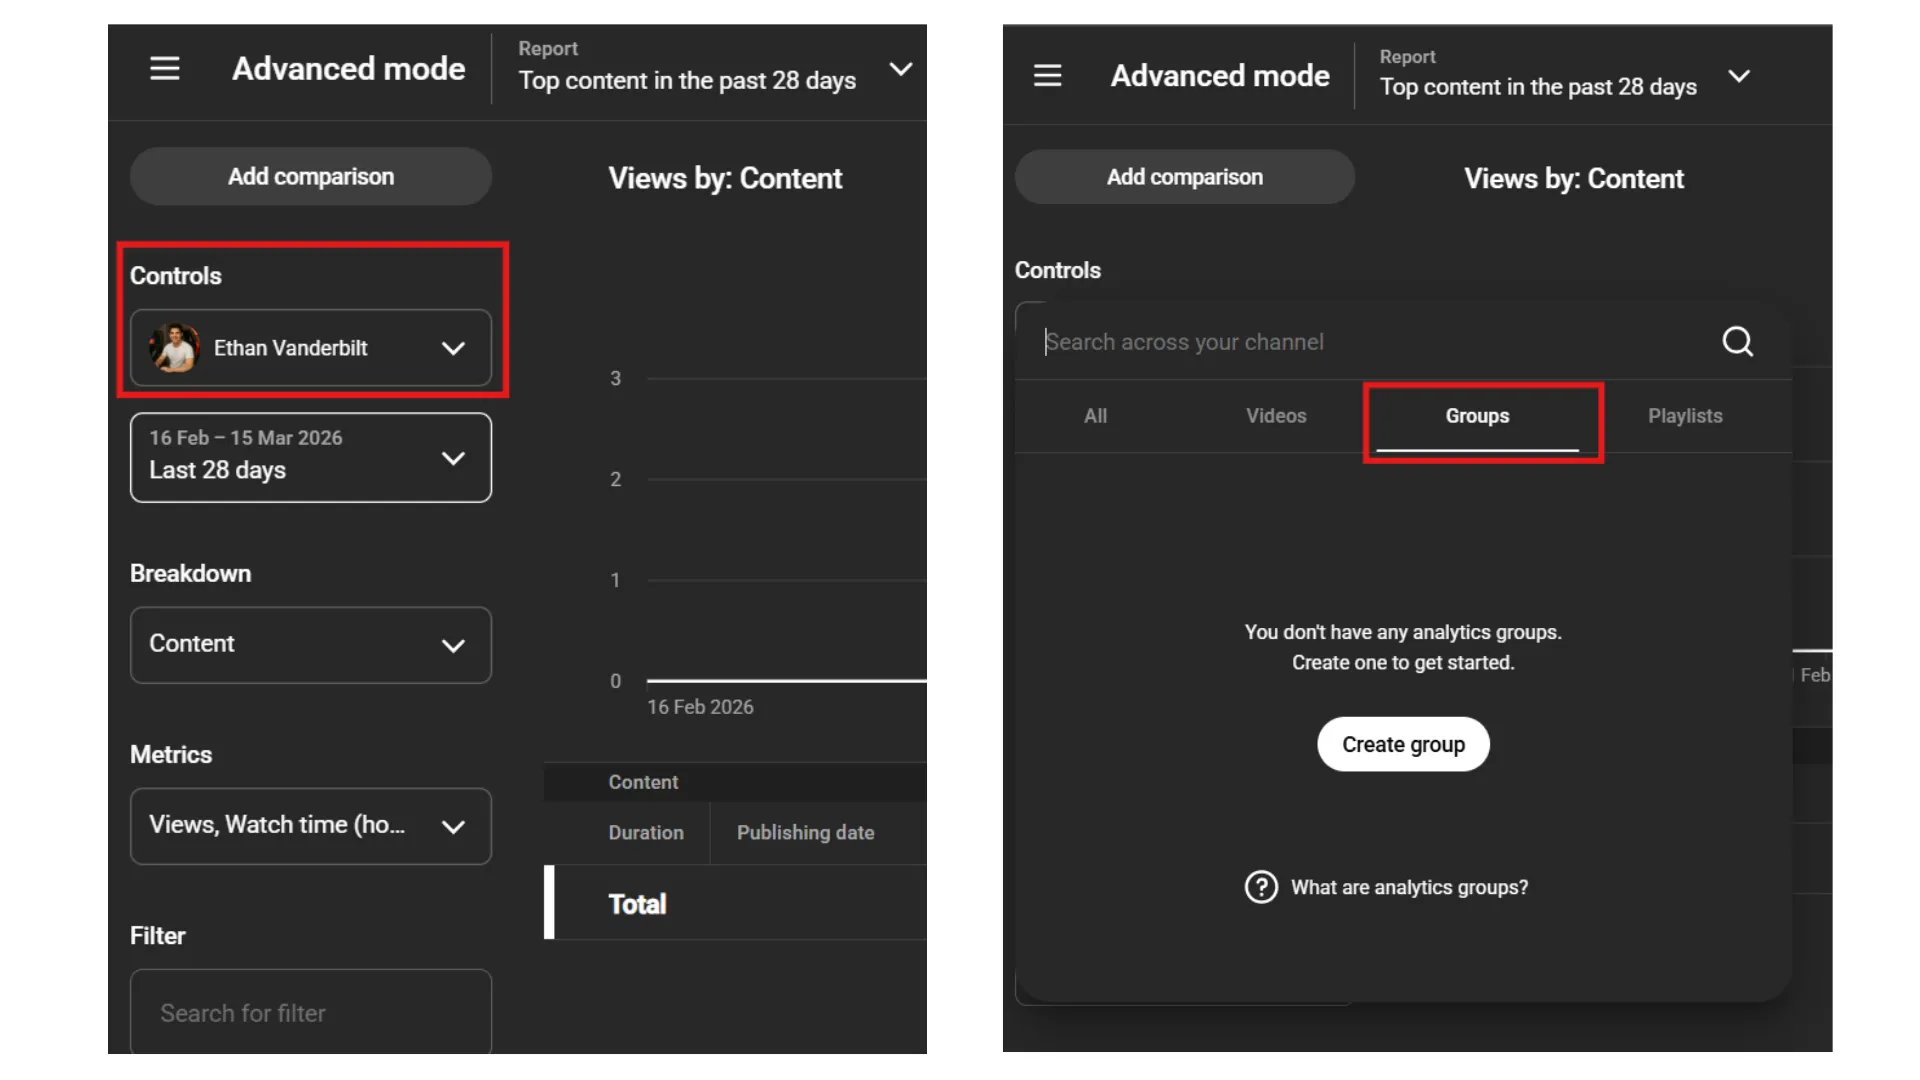
While the data provided by the surface-level analytics will give you an idea of how a video is performing, in order to understand the big picture, it is imperative that you take advantage of Video Groups. This option is found in the Advanced Mode of the Analytics feature. This will allow you to create your own groups of up to 500 videos and:
- Analyze Series Performance: Do your “Vlog” series really convert more subscribers than your “Tutorial” series?
- Identify Seasonal Trends: How did your holiday-themed content do this year compared to last year?
- Test New Formats: Are your new content formats affecting your average view duration? Group them separately and find out.
4. Boost CTR with the Thumbnail “Test & Compare”
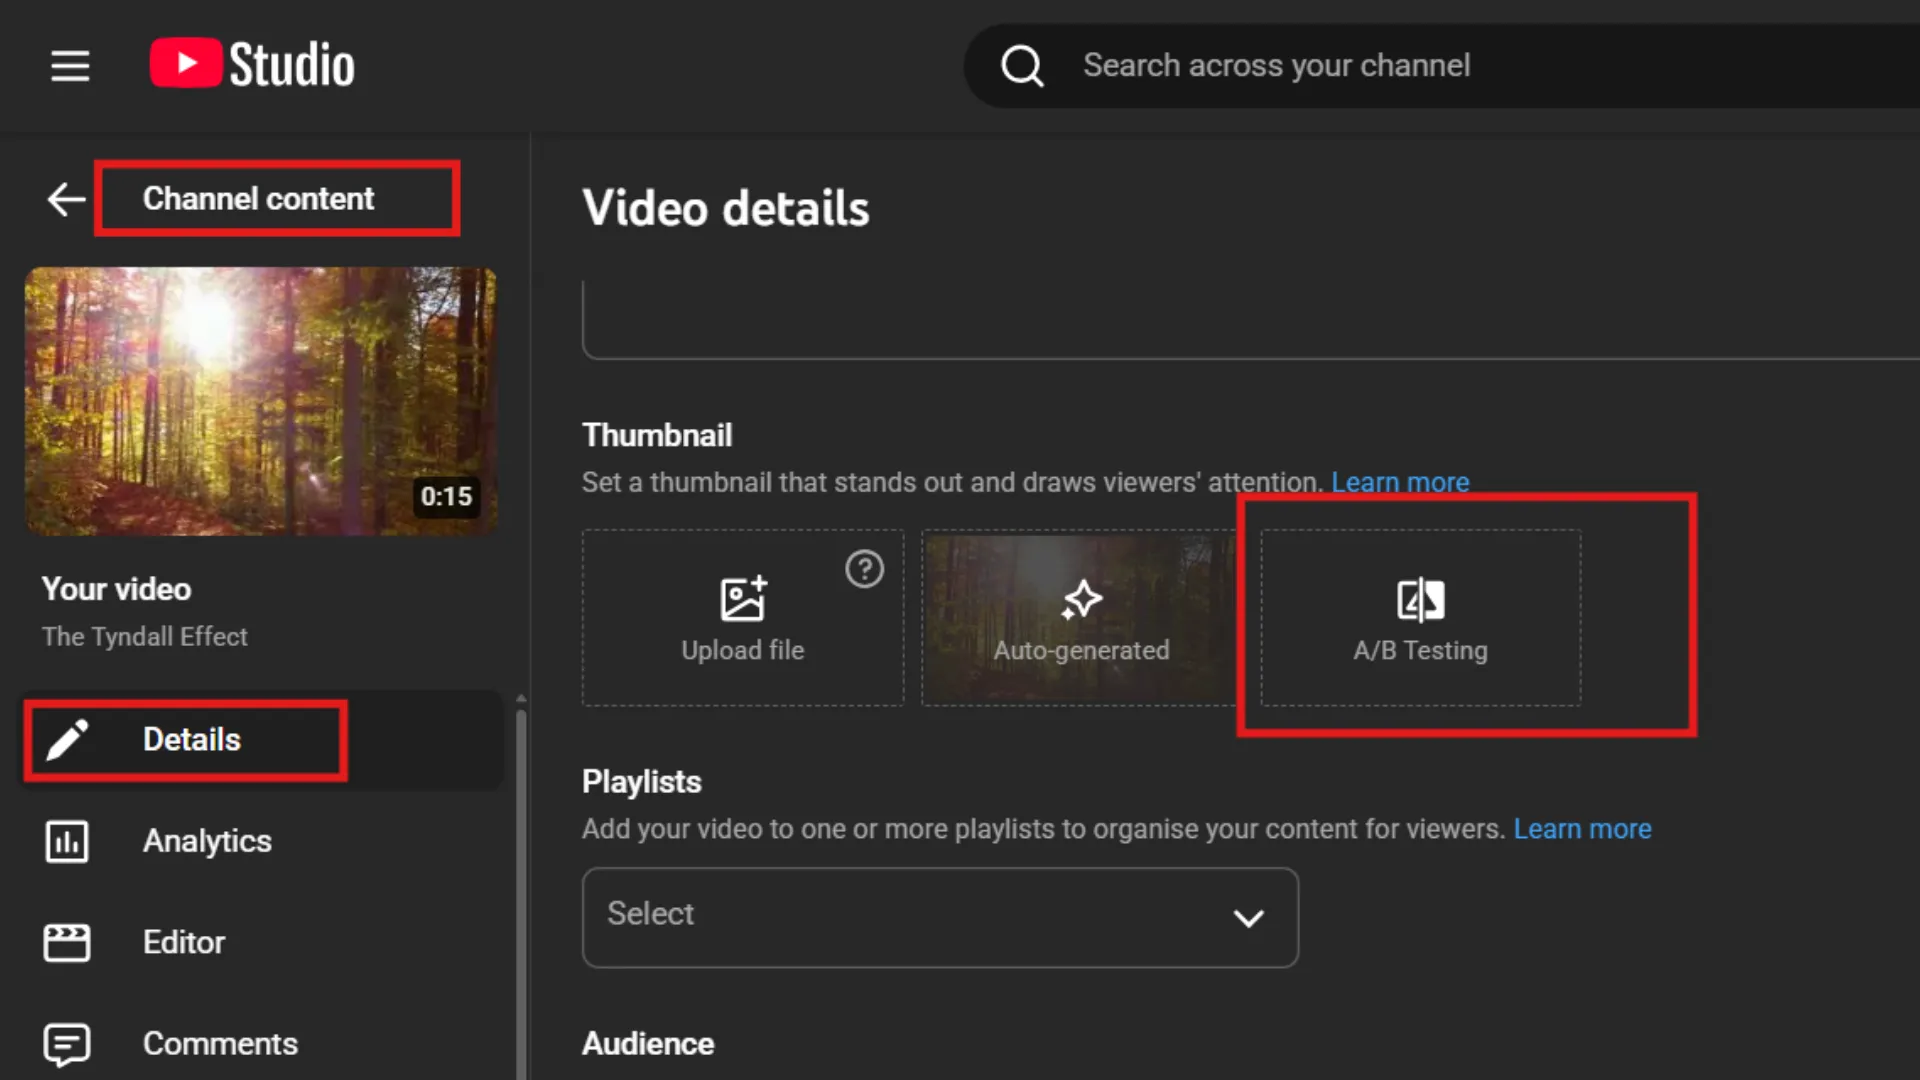
Click-through rates (CTR) are one of the most crucial growth metrics. Until recently, it was a guessing game as to which thumbnail would perform better. Fortunately, with YouTube Studio advanced settings, there is an A/B tester available.
To access it, go into the content area, select a video, and scroll down to the thumbnail area. Click on the three dots and select “Test and Compare.” You can upload up to three different versions. YouTube will then rotate it for your audience, and after a few days, it will automatically select a winner based on watch times.
5. Reach Global Audiences with Auto-Translate
Not all of YouTube’s audiences are native English speakers. If you wish to reach global audiences, you can do so using the advance settings YouTube Studio.
When you go to your video’s settings, you can find Languages in the left sidebar. From there, you can add a language, choose your region, such as Spanish or Hindi, and then use the feature called Auto-Translate. Don’t forget to translate your titles and descriptions as well.
Final Thoughts
Being able to use these high-level settings that YouTube provides is what makes a hobbyist a professional content creator. Whether it’s automating your workflow using Upload Defaults or dubbing your videos into a new language using AI, it’s what gives you a competitive edge in your industry. Try buying YouTube views to instantly check the parameters that can grow your channel and see how it can speed up your optimization for success!
Frequently Asked Questions
Q1. Are YouTube Studio advanced settings available for all creators?
Yes, each channel account has access to YouTube Studio. Although some settings are available only if you are part of the YouTube Partner Program.
Q2. How often should I use advanced settings for my videos?
You should use advanced settings for each upload to ensure visibility is set for the right audience. You can perform regular checks for accuracy and consistency.
Q3. Can I access YouTube Studio advanced settings on mobile?
The mobile YouTube Studio offers fewer settings than the desktop version, which is more convenient for monetization, advanced mode, and audience settings.
Q4. Do advanced settings help with audience targeting?
Yes, advanced settings let you specify your content type. Such as it is for kids, or not, setting the default upload preference, adding keywords, etc, for more discoverability.