

Sound plays a vital role in creating videos. The quality of the sound in your video builds a bar for your video content quality. Your video’s sound completes the experience a user has with your videos. From a little sound effect to a long fledged script, every sound you use in your videos matters.
Users on YouTube aren’t forgiving when it comes to sound quality; they won’t entertain low-quality videos and won’t bat an eye before hitting the dislike button. If you are looking to gain more views on your videos, here’s how you do it. Of course, every video needs impressive visuals, but what are visuals without the sound. In this blog, we will look at a few tips to improve your sound quality.
What is the Importance of Quality Audio in YouTube videos?
When creating a YouTube video, it’s essential to have all the necessary components in order. It includes Audio quality. A standard quality ensures that viewers stay engaged in your video. Low-quality sound can deter viewers, regardless of the quality of your video content.
Further, your audience wants to follow the message of your video. If people don’t understand the message of your video, retention will automatically drop with the watch time. Sound creates a good emotional impact on viewers. It’s an accessibility tool as well for viewers who listen to your videos instead of watching them. Make sure your video sound quality is crisp and clear. Invest in good gear that will be beneficial in the long term.
Can You Enhance the Audio Quality of the Recording?
You don’t need a professional studio to fix the audio quality of a YouTube video. A good quality video enhances visibility when YouTube displays snippets of your videos. The quality of sound also determines how long the audience stays on the video. It helps drive more traffic to your video by using clear sound. You can keep these pointers:
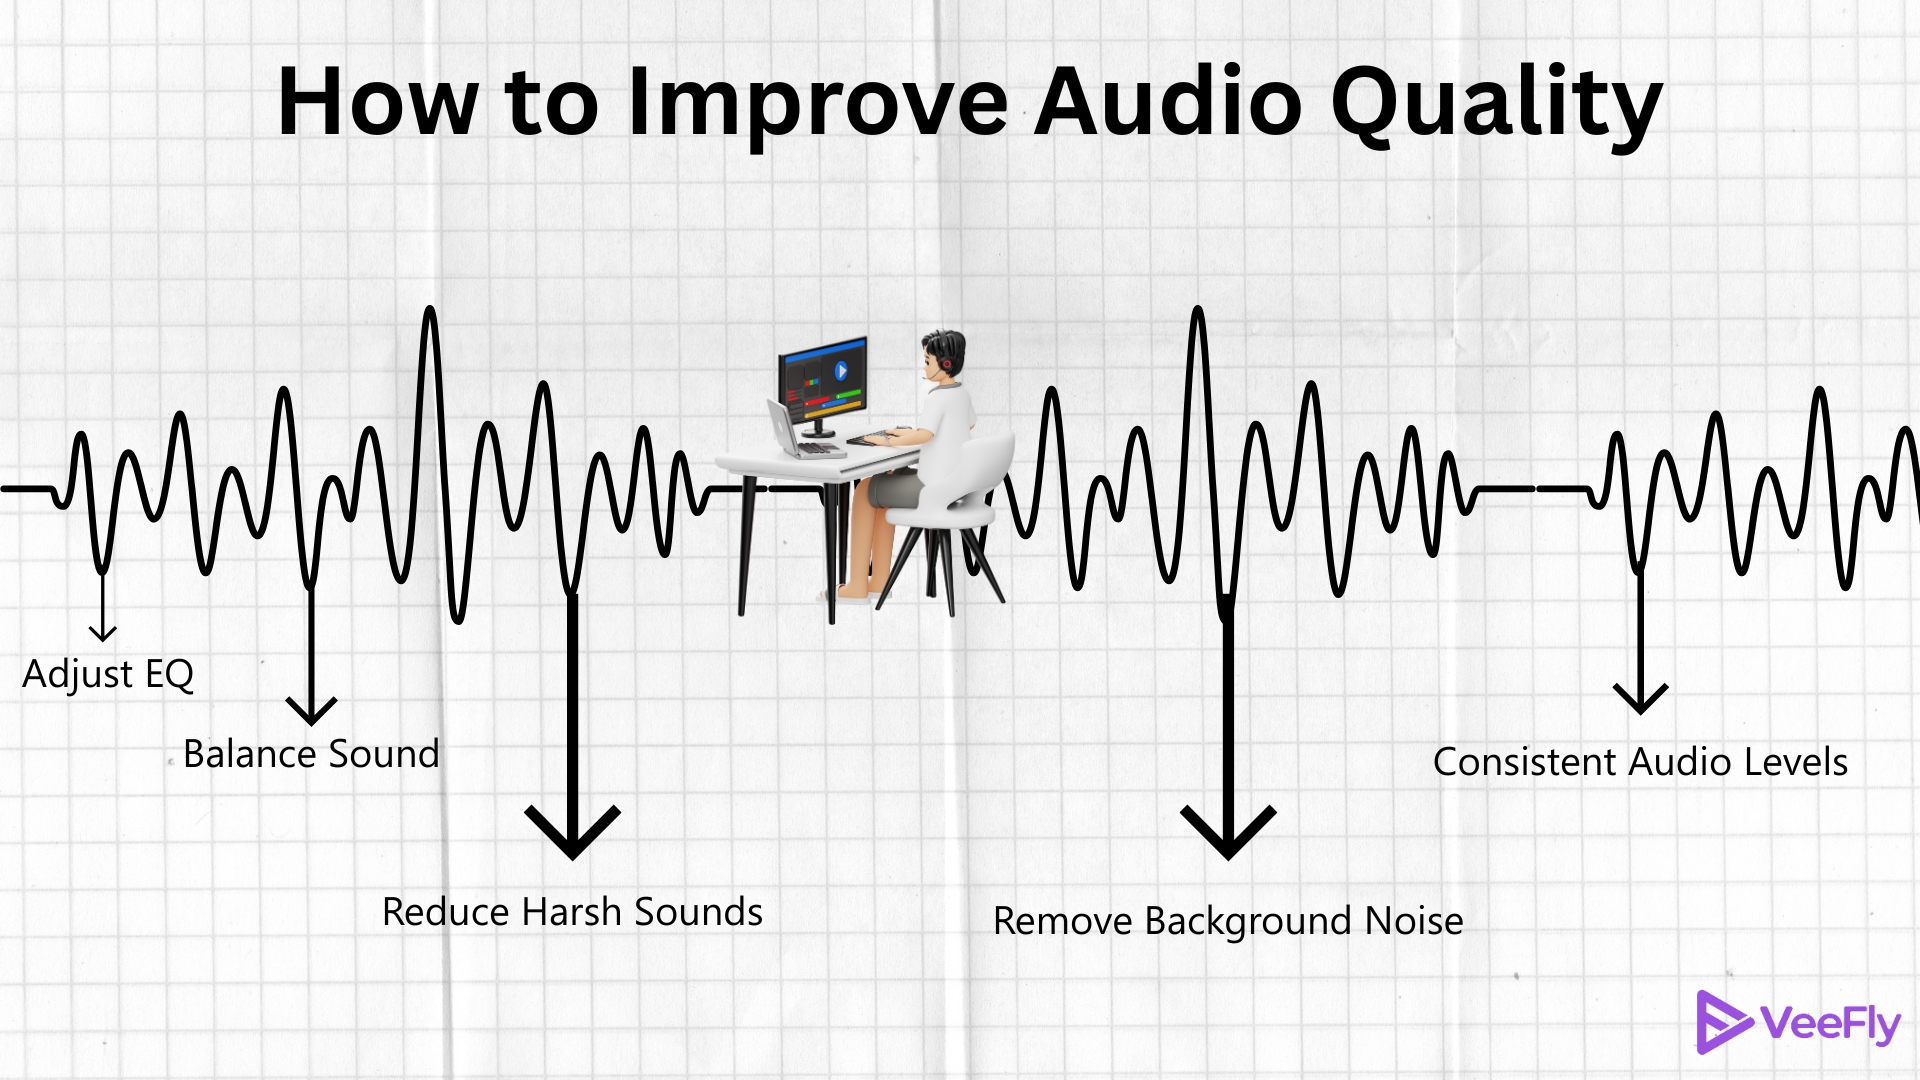
- Noise Reduction: Whether you are using earphones, professional mics, or a mobile microphone. It will catch the background noise. Use tools like Audacity, Krisp, or Denoise to remove disturbance.
- Equalization (EQ): You can reduce the noise by levelling the volume and adjusting EQ
- Compression: You don’t want some parts of your video to be loud and other parts inaudible; you can compress it for a consistent sound throughout the video.
- Volume Equalizer: It is a step ahead of compression. It increases and decreases volume as per the sound. It balances the sound.
- De-popping: Sometimes, the microphone picks up harsh sounds that can disturb the audio experience. You need pop filters when you edit the video.
Here Are the Top 5 Techniques To Improve Sound Quality
If creators want more engagement on their videos, then they can’t afford to ignore the sound quality. In addition to improving audio quality, we also encourage creators to promote their videos on YouTube. Here are 5 ways to fix the audio quality of your videos.
1. Choose a Quiet Setup
You don’t want to record a sound where there is too much happening around. One of the most important decisions to make when buying any audio-visual equipment is getting the right equipment. Sometimes the microphone of your laptop or computer might not be able to catch every word you are trying to convey, or might glitch while recording. You can invest in high-quality equipment to enhance your video and deliver an excellent one to your audience in such cases.
2. Balance Music & Voice Over
Imagine watching a video with your headset on and being blasted by the sounds of a washing machine, grinder, or traffic in the background. You will find yourself irritated and skip to the next video immediately without even finishing it. It is literally what you need to avoid while shooting a video. If you cannot prevent the disruptions, you can use noise reduction tools to remove the noise from your clip and then use it in the video.
3. Check Audio Input Levels
Many creators add music and voice-overs to their videos. But sometimes, when the music overlaps with the VO, it doesn’t deliver the message correctly. Try reducing the music’s sound when inserting a voice-over in a video. It will help your audience understand what the video is about while also enjoying the background’s soothing music.
4. Compress the Harsh Sound
Checking the volume levels is a crucial part of audio recording. To do so, you need to check the input volume meter on your recorder. There is a lot of software that can help you with this. You would want the level to hit the green zone for a sound, audible voice. If the level displays a color of red, the audio is either unclear or distorted. Try to keep the sound as easy on ears as possible, and tune out the harsh sound.
5. Run Audio Test
When you are done setting up your recording area to shoot a video, spare a few minutes to shoot and record a sample to check the sound quality and if it fits right with the video. Once you have sorted out the sound quality in your videos, you can gain more engagement on them.
Conclusion
To keep your audience engaged and your channel stands out, you need to have a clear audio quality. Whether you are just starting or have been in this content creation journey for a long time, do the dutiful thing of providing your audience with a smooth viewing experience. Moreover, ensure that you follow these techniques before and during recording your videos for improved viewership and ranking on YouTube’s SERP.
Frequently Asked Questions
Q1. What is the best audio file format for YouTube?
For good sound quality, use FLAC as the audio file format, which reduces file size without compromising sound quality. Similarly, WAV ensures that the original audio file and its quality are retained. Furthermore, MP3 makes it a lossy format suitable for storage on all devices.
Q2. Can I change the audio format after uploading the video to YouTube?
Yes, head to YouTube Studio, select ‘Editor.’ Tap ‘Audio’ and then find a new track to replace the older audio tune. Click on the “ADD” button so that your newly selected audio tune appears in the editor box. Once finished, hit the “SAVE” button.
Q3. Are there any free tools to convert my audio files for YouTube uploads?
The top audio-to-video converters you can make use of are TuneToTube, OnlineVideoConverter and Dovid.
Q4. Should I focus more on video quality or audio quality for YouTube?
It depends on the type of content you have uploaded. For instance, ASMR Videos or Music Videos require sound to be of high quality. However, for cooking or DIY Videos, Video quality is more important.