
Did you know OBS Studio is a free and open-source screen recorder available for Windows, Mac, and Linux. Yes, and it is super easy to use and has a lot of features to help you produce professional live streams, too.
While the Windows and Mac downloads come with standard install packages, the Linux link will redirect you to another website with install directions.
If you buy YouTube subscribers, you will gain a lot of viewers for your livestreams. And utilizing the OBS software will further give your live streams a competitive edge with enhanced visual appeal! Below we have laid a simple and quick guide to make the OBS studio easy to use and help you earn more views.
Getting started with OBS Studio
- Download the OBS Studio using this link: https://obsproject.com/
(select your preferred OS before downloading) - Once downloaded, open the software. (obviously!)
- In Auto-Configuration Wizard, specify what you want to use the program for.
- OBS Studio will now ask you to specify the Video Settings you would like to use.
- If you chose the option to stream in the previous window, the software will ask you to fill out basic Stream Information.
- Once you select the service, you’ll be asked to connect your account.
- Tap the Connect Account button. OBS Software will redirect you to your browser window, where it will ask you to select the Google account you want to connect your OBS Studio with.
- Once done, come back to the OBS Installation Wizard and click Next.
- The program will execute a set of tests to estimate the ideal settings. This might take a few minutes, depending on your PC hardware.
- Once the testing is completed, click Apply Settings.
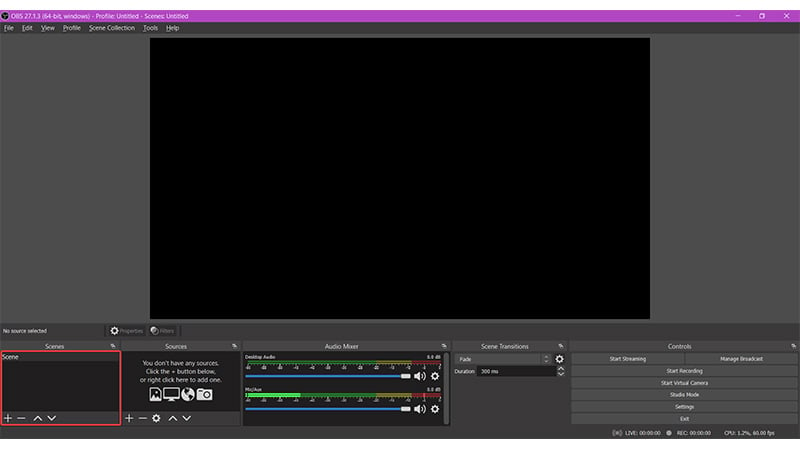
OBS Software 27.1.3 (latest update – 2022)
You’ll see a dashboard on top displaying visuals from your computer screen and, on the bottom, an expanded submenu with several buttons. (don’t be overwhelmed; it’s quite easy to operate.)
If you wish to record your screen and store it as a file on your computer (preferably to edit it later), follow these steps:
Sources | Tell OBS Studio what to capture
Source 1
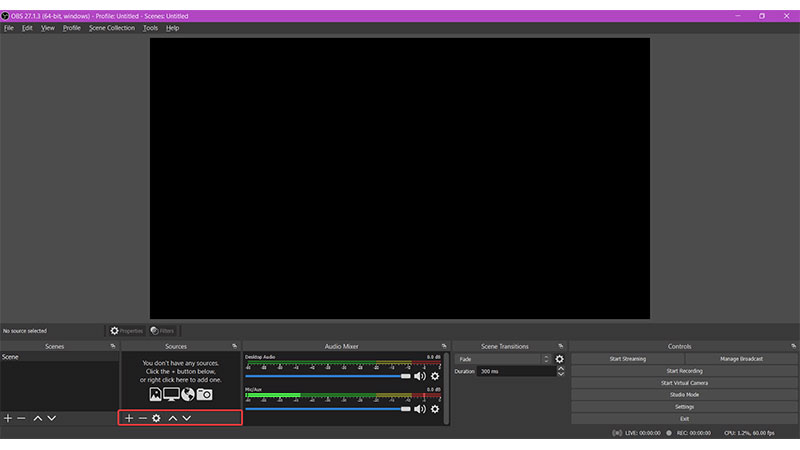
- Tap the plus button on the Source’s box located at the bottom left of your screen (as seen in the image)
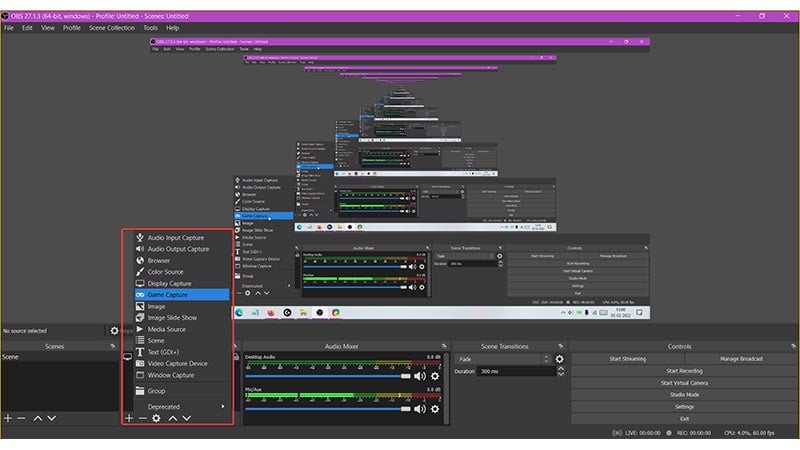
- Select Display Capture
(rename the title as per your wish.) - Make sure ‘Make Source Visible’ is checked, then select ‘Okay’
- Click the display button to select the monitor you’re using. (if you’re using only one monitor, you’ll ideally see only one option to choose from)
- If you want your mouse cursor to be captured when OBS Studio records your screen, make sure the ‘Capture Cursor’ is checked. Then select ‘Okay’
Source 2
- Go back to the Source’s box and tap the plus icon.
- If you want to record the video game you play on your computer, select Game Capture.
(Rename the title to anything you like.) - Make sure the Make Source Available is checked, then tap ‘Okay.’
- Leave everything to the default settings and select ‘Okay’ again.
- If you want to change the ‘Source settings,’ select the ‘Source’
- Then tap the gear icon on the bottom (as seen in the image.)
- Here you can change the display or choose to hide the ‘Capture cursor’ from being recorded by the OBS software.
- To delete a Source, select it then click the minus sign on the bottom.
- It’ll ask you to confirm your selection, select Yes/No.
- The up and down arrows will change the priorities of your sources.
- Make sure the source you’re currently using is at the top of the list.
Mixer | Control audio settings in OBS Studio
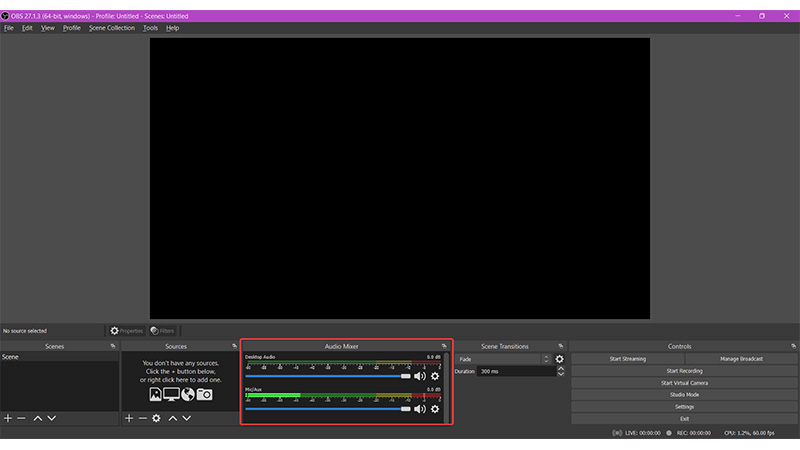
Besides recording your display, OBS also records your desktop audio from the application you asked it to record (game, web or any other software). The Mixer section next to Sources allows you to control all the audio settings recorded by the OBS software.
If you wish to record the audio from your microphone, follow these simple steps:
- Make sure the Desktop Audio is always set to Default.
- To do so, click the gear icon in the Desktop Audio, select Properties, select Default, then click ‘Okay.’
- Now below Desktop Audio, you’ll see there’s a separate setting for the microphone.
- Click the gear icon, go to Properties, here you can choose the microphone you currently want the OBS Studio to record.
- Once selected, click ‘Okay’
Now that you’re done learning the basics of the OBS software, let’s get you a quick overview of the other options on the user interface.
Some of these options go well ahead covering the advanced aspects of OBS so we won’t traverse through the details. Only a quick walkover so you know the software in full light:
Scenes | Record multiple scenes using OBS Studio
To the left of Sources is Scenes. This setting allows you to use more than one Source when recording. This is more of an advanced setup, and because this blog is largely covering the basics of OBS we’ll refrain from getting into it.
Scene Transitions | Preset transitions to enhance the visual experience

To the right of the Mixer, you’ll see Screen Transitions.
Screen Transitions allow you to add an effect between the two clips. While there are multiple screen transitions to choose from if you don’t use transitions, you don’t need to get into this one.
Controls | Quick settings to toggle streaming and recording
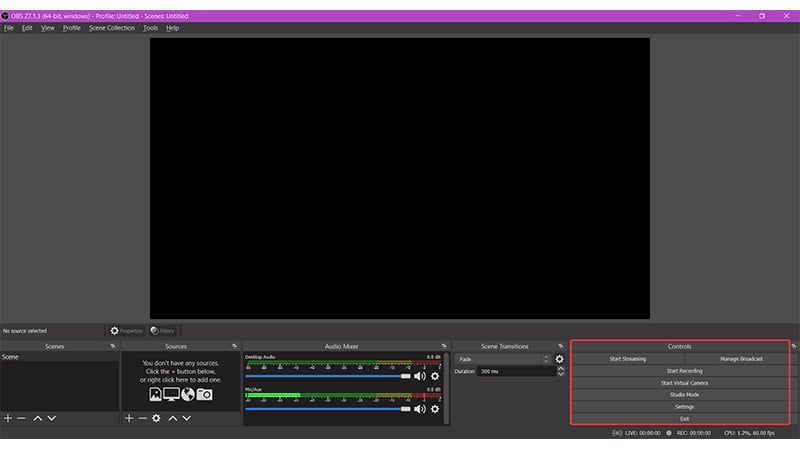
To the extreme right of the user interface, you’d see Controls.
Under Controls, you’ll see options like Start Streaming, Stop Recording, Studio Mode and Exit.
While most of the options here are self-explanatory, we would briefly understand what Studio Mode is.
As you get into understanding and using OBS Studio more often, you might want to try your hands on Studio Mode. This setting allows you to make changes while you’re streaming. Like adding and resizing images and adding text.
Settings | Optimise your OBS Studio to give you the best performance

While most of the settings are practically for advanced users (that we might cover in our next blog) some general settings that you should know about are discussed below:
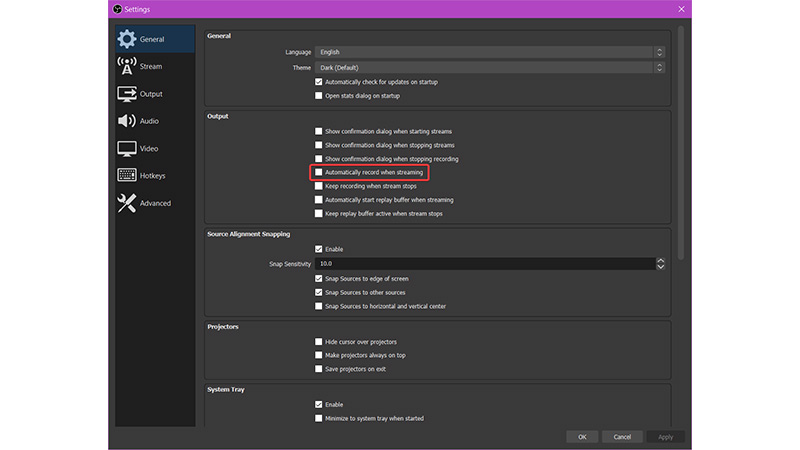
General
If you’re streaming and you wish to save a copy of your live stream on your computer, under Option check the Automatically record when streaming option.
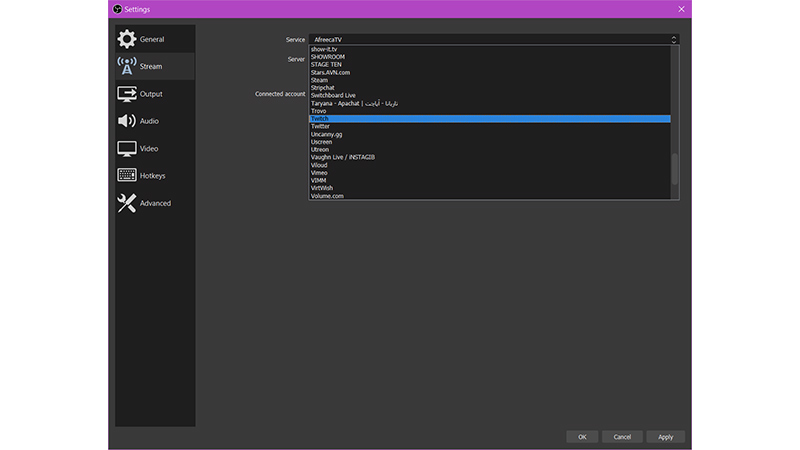
Stream
Depending on where you’re currently streaming you can select the streaming service. Under Stream, look for Service. It would be best to leave the server on auto, but if you wish to select it manually, you can do so by selecting the region you’re currently in or is closest to you.
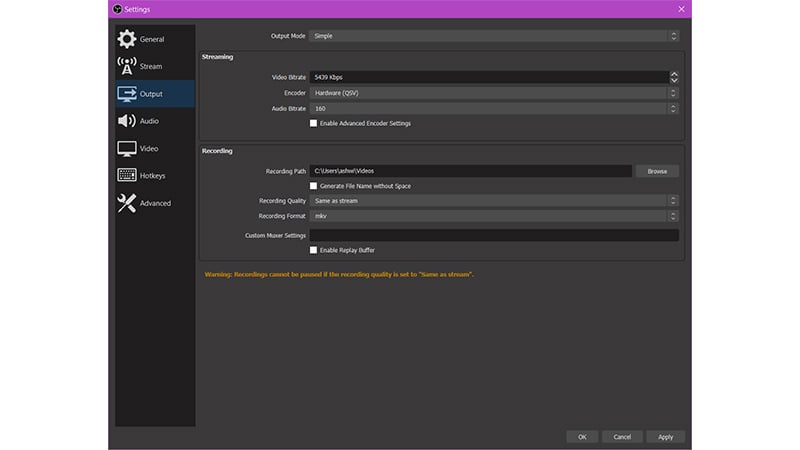
Output
Output is where you make selections like Video Bitrate, Encoder, Audio Bitrate, among others. If you are streaming you might want to increase the Video Bitrate to 3500 for best results.
If you are recording you can choose where your recorded files should be stored, the quality of your recording, format, among other settings.
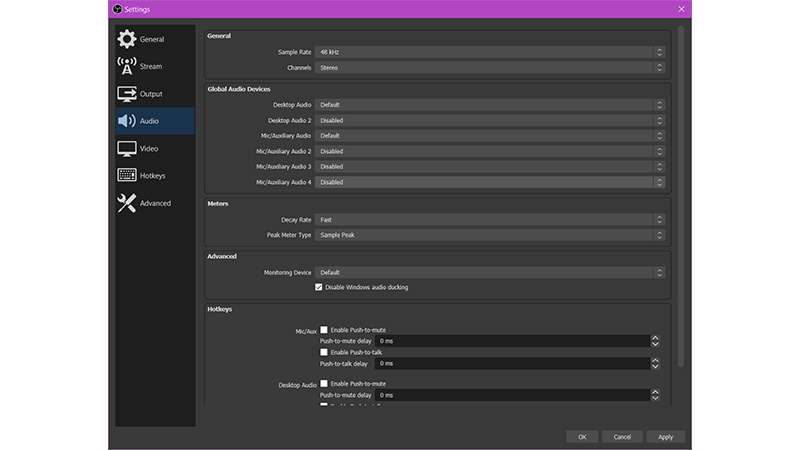
Audio
While it’s best to keep your Audio Settings at default, you can set your Mic audio device, Channels, Sample Rate among other audio settings.
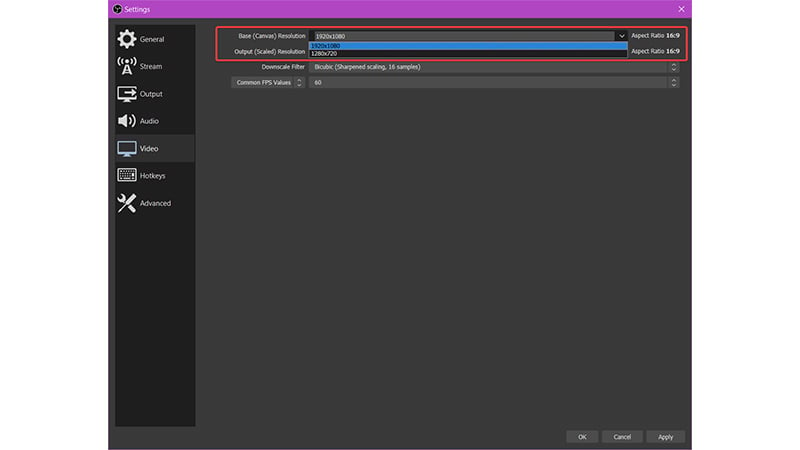
Video
Under the video, you can select your base resolution (which ideally should be set based on the size of your display)
If you have a high-end PC, it would be best to keep the output resolution to 1920×1080. For low-end computers, however, you can reduce it to 1280×720.
Keeping in mind the performance of your computer you can set the Common FPS Values to somewhere between 30-60.
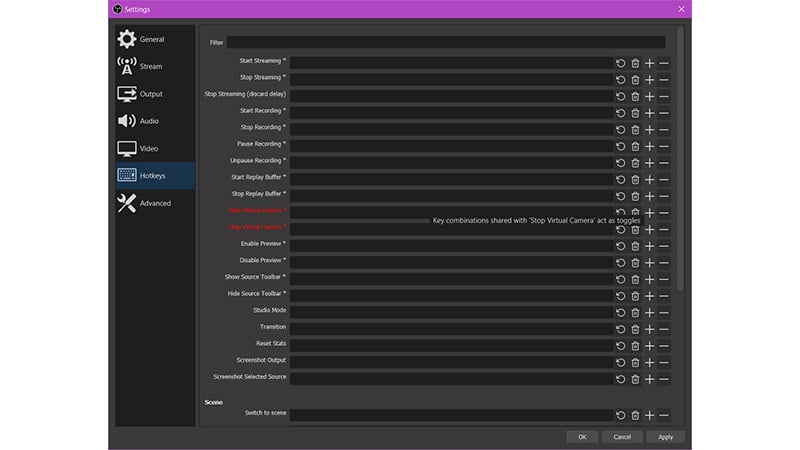
Hotkeys
The hotkeys section is where you can assign keyboard shortcuts for OBS Studio.
Conclusion
Streaming videos is one of the ways to promote video on YouTube. Open Broadcaster Software (OBS Studio) is an ideal solution for most streamers. Doesn’t matter where you stream; it will help you buy YouTube views naturally. From YouTube and Twitch to DailyMotion and even Facebook Live, OBS flawlessly covers most of them. The best part? Depending on where you’re streaming it automatically makes those changes to your general settings.
If you have just started streaming, or because the recording was a primary constraint you avoided the run, well this is your time! OBS Studio is free and available cross-platform.
Frequently Asked Questions
Q1. What is OBS software used for?
Ans: OBS is a free and open-source software for offline video recording and live streaming.
Q2. How do I get OBS?
Ans: You can download the OBS Software on your computer using this link: https://obsproject.com/
Q3. Is OBS good for low-end PCs?
Ans: With OBS, you can have a good quality stream even on a low-end PC.